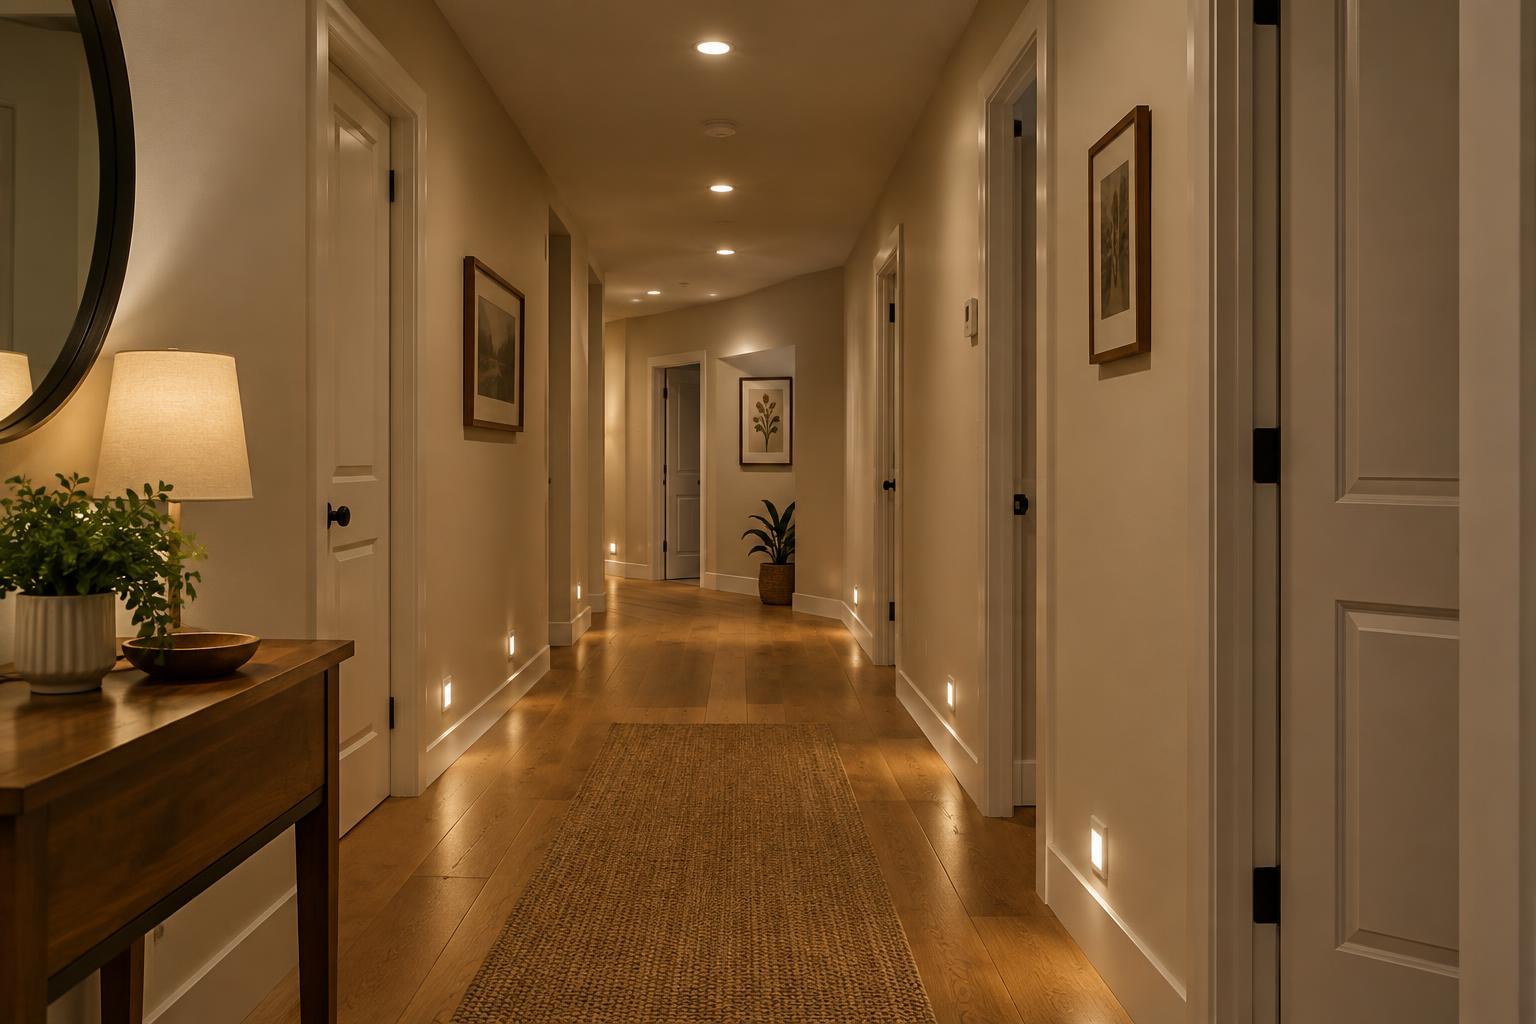
Plan the route before choosing fixtures
Walk the hallway in daylight and after dark. Notice where you enter and leave it, which doors swing into it, and whether stairs, thresholds or furniture interrupt the path. A straight corridor may need a simple row of lights; an L-shaped hall needs attention at the turn so the next stretch is visible before you reach it. Also look for mirrors or glossy paint that might reflect an exposed bulb into your eyes.
Think of hallway lighting as two related jobs: enough general light to move around and find doors, and gentler light for trips at night. A single bright fitting can leave the ends of a long hall dim, while several fittings placed without a plan can create alternating bright and dark patches. Sketch the ceiling or walls, mark existing electrical points, and identify the places where a person needs to see the floor clearly.
Space fixtures for even coverage
Fixture spacing depends on the width and length of the hall, ceiling height, beam spread and output of the fittings. Rather than starting with a fixed distance, check the coverage information for the fixtures you are considering. Aim for neighboring pools of light to overlap on the walking surface. As a visual starting point for a straight hall, place the first and last ceiling fixtures roughly half a fixture-to-fixture interval from their respective ends, then adjust for doorways and other features.
For a narrow hallway, a centered line of flush-mount fittings or recessed downlights can look orderly. In a wider space, fittings near the center may still work, but check whether they leave wall edges or storage areas too dark. Wall sconces can help define the route, especially where ceiling installation is difficult; position them so they do not project awkwardly into a tight passage or shine directly at eye level.
Before committing to a layout, use temporary lamps or a flashlight to test likely dark spots. Pay particular attention to the first step of a staircase, a change in flooring, and the inside of a corner. The goal is not perfect symmetry at the expense of visibility: moving a fitting slightly to illuminate a turn may be more useful than keeping every gap identical.
Control glare as well as brightness
Bright light is not always easy to see by. Bare bulbs, highly exposed downlights and strong reflections can make the surrounding floor seem darker, particularly when your eyes have adjusted to a dim bedroom. Diffusers, shaded sconces and fittings with a recessed light source can soften the effect. A light-colored ceiling and walls may also help distribute light without requiring a harsh-looking fixture.
Keep the appearance of light reasonably consistent along the hall so the route feels coherent. If the hall opens onto another room, consider how the two spaces look together at night: a dramatically brighter hall can be uncomfortable when someone leaves a dim room. Dimmers can offer flexibility, provided the bulbs and controls are compatible. Test the settings after installation rather than assuming the lowest setting will provide enough visibility.
Create a separate nighttime layer
A useful nighttime route lets someone recognize the floor, door openings and any changes in level without turning on the full daytime lighting. Plug-in night-lights, low-output wall lights or discreet lighting near the floor can provide this layer. Choose positions where the light reveals the path instead of shining toward a bed or straight down the length of the hall at eye level.
Motion sensors can be convenient when hands are full, but consider where they detect movement and how long they stay on. A sensor that responds only after someone has reached a dark corner is less helpful than one that activates as they enter the hall. If a light switches off too quickly, the route may go dark before a slow-moving person reaches the other end. Test the setup from each bedroom or doorway that people use at night.
For renters or anyone avoiding electrical work, plug-in lights and adhesive-mounted, battery-powered lights can be practical options. Keep cords out of walking paths, and follow the product’s mounting and battery instructions. Battery lights are easiest to rely on when checking and replacing their batteries becomes part of a regular household routine.
Make the layout easy to use and maintain
Controls matter as much as fixtures. Where possible, make it easy to turn the main hallway lights on and off from the points where people naturally enter and leave. Labeling an unfamiliar switch or using a consistent switch arrangement can help guests navigate. Keep decorative objects, shoe storage and runners from narrowing the path or hiding a threshold that the lighting is meant to reveal.
After the lights are in place, walk the route again at night from both directions. Look for shadows cast by open doors, glare in mirrors and any patch of floor that disappears between fixtures. Small adjustments to a shade, bulb or sensor setting may improve the result more than adding another bright light. For new wiring, relocated fittings or changes to switches, use a qualified electrician and follow applicable local requirements.


