Start with the filter your system uses
A home HVAC filter catches particles in the air moving through a heating or cooling system. It also helps keep dust from building up inside the equipment. Before buying a replacement, locate the existing filter. It may sit behind a return-air grille, in a slot beside the indoor unit or in a dedicated filter cabinet. Some homes have more than one filter location, so check the system’s instructions or ask the person responsible for its maintenance if you are unsure.
Note how the current filter sits before removing it. Its frame may show a printed size and an arrow indicating airflow direction. Buy a filter intended for the same location and dimensions; a loose fit can let air pass around its edges. Filters often display a nominal size, while the actual dimensions printed on the package may be slightly smaller. If the old filter is missing or does not fit well, measure the opening and consult the equipment or filter-cabinet instructions rather than assuming the printed size was correct.
Choose filtration that suits the equipment
Disposable pleated filters are a common choice, but they come in different thicknesses and filtration ratings. A thicker filter is not automatically interchangeable with a thin one: it must fit the cabinet and allow the cover or grille to close properly. A washable filter should only be used where the system permits it, and it needs to be completely dry before it goes back in.
Many filters use a MERV rating to describe their ability to capture particles of different sizes. A higher rating can capture more particles, but it may also make airflow more restrictive, particularly as the filter loads with dust. The best choice is not necessarily the highest number on the shelf. Follow the equipment or filter-cabinet guidance for acceptable filter types and ratings. If that information is unavailable, ask a qualified HVAC technician before making a substantial change in filter type.
Consider the job you want the filter to do without expecting it to solve every air-quality problem. A filter only treats air that passes through it, and even a suitable filter cannot make up for moisture problems, poor ventilation or dust sources that need attention. A well-fitting filter changed when needed is more useful than an ambitious filter that the system cannot accommodate.
Replace the filter step by step
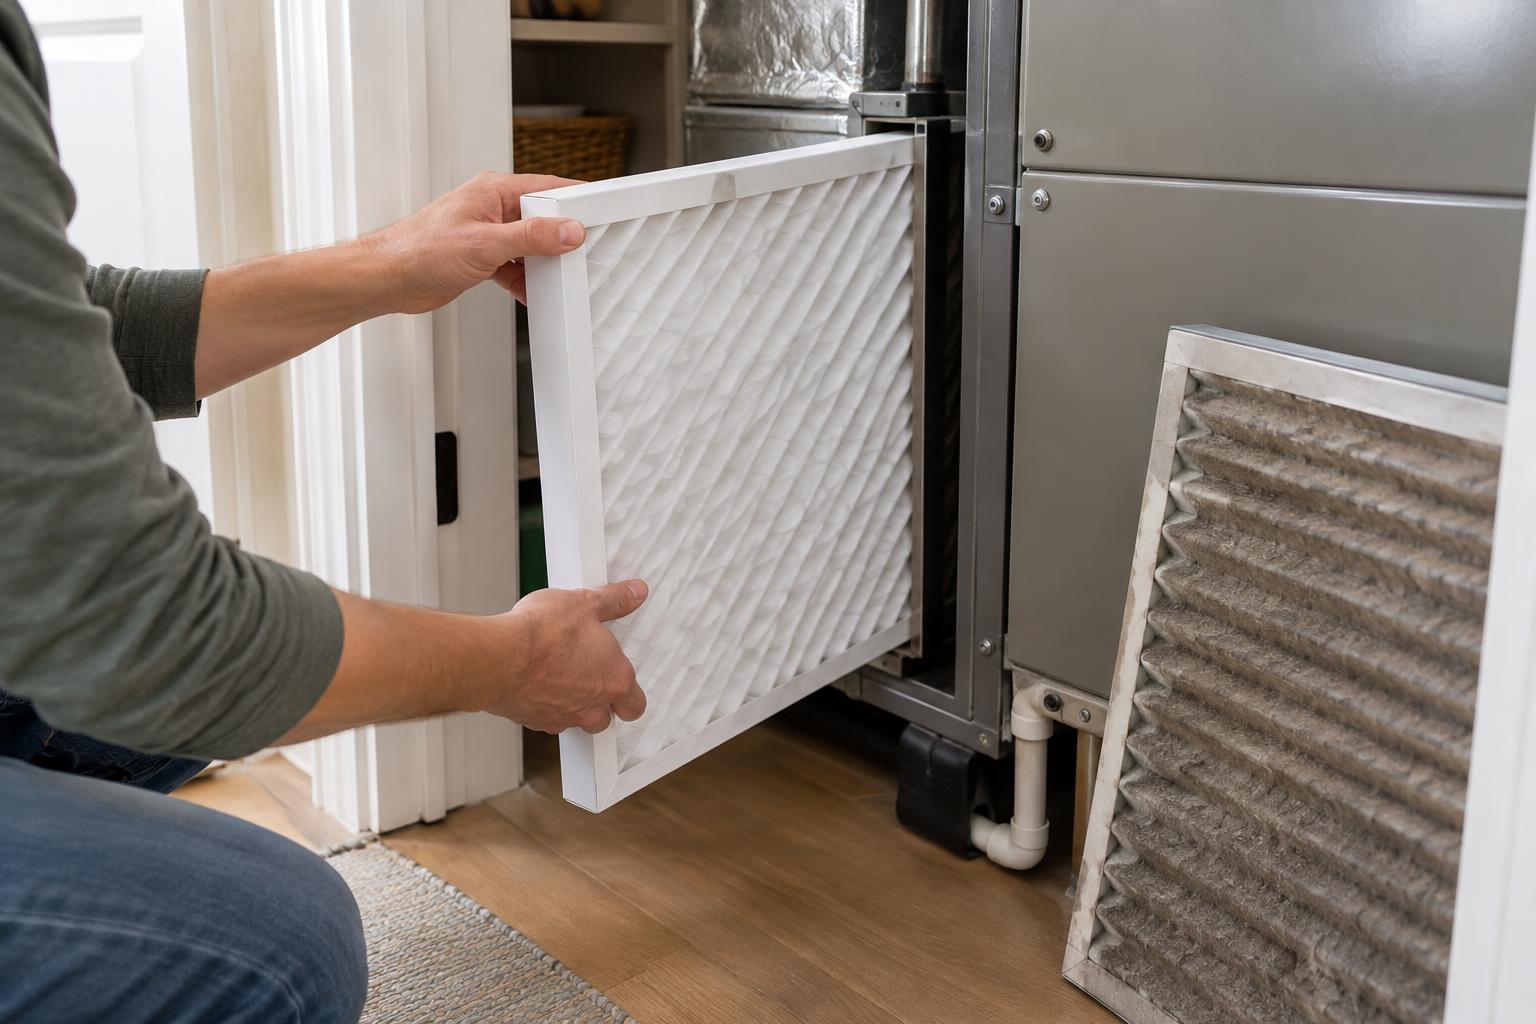
Turn the heating or cooling system off at the thermostat and wait for the fan to stop. Open the filter grille or accessible filter cover, then slide the old filter out slowly to avoid shaking loose accumulated dust. If it is disposable, place it in a bag or wrap it before carrying it through the home. You can wipe reachable dust from the grille or the edge of the slot, but do not reach into equipment or remove service panels to clean internal parts.
Find the airflow arrow on the new filter. Install it so the arrow points in the direction air travels toward the indoor equipment or blower, not necessarily toward the room. Use the old filter’s orientation as a reference only if you are confident it was installed correctly. Slide the replacement fully into place without crushing its frame, close the grille or cover securely, and turn the system back on. If the filter will not seat properly or the cover will not close, stop and confirm the size and type rather than forcing it.
Set a schedule based on what you see
There is no single replacement interval that suits every home. Follow the filter and equipment instructions, then check the filter regularly at first so you can learn how quickly it collects dust in your space. Usage, pets, nearby dust sources and the filter’s design can all affect how soon it needs changing. A filter that looks heavily loaded, is damaged or has a damp smell deserves attention sooner than a calendar reminder might suggest.
Write the installation date on the filter frame if the manufacturer leaves space for it, or keep a reminder on your phone. If a new filter becomes dirty unusually quickly, the system seems to move less air or you notice persistent dampness near the filter, arrange for the cause to be checked. Replacing the filter is routine maintenance, but it is not a substitute for diagnosing an airflow or moisture problem.
Know when to ask before changing anything
In a rental, confirm whether filter changes are your responsibility and whether a particular filter is required. If you cannot find a safe, accessible filter location, do not dismantle the HVAC unit to search for one. Likewise, avoid adding a filter at a return grille when the system already has a central filter unless its instructions call for both locations; an extra filter can restrict airflow.
The simplest reliable approach is to keep a note of the correct size, approved filter type and access location. That turns the next change into a short, repeatable task—and makes it easier to spot when the filter or the system needs more than a routine swap.


