Find the leak before choosing a fix
A room that feels chilly near a window does not always have an air leak. Cold glass can make the surrounding area feel uncomfortable even when the sash is sealed. Begin by closing and latching the window or door, then move your hand slowly around its edges on a breezy day. Pay attention to the meeting point between a window sash and its frame, the perimeter of a door, the threshold, and the trim where the frame meets the wall.
For a closer check, hold a thin strip of tissue near a suspected gap and watch for movement. Keep it clear of flames, fans, and moving hardware. Note where you feel or see airflow before taking anything apart. If the movement seems to come from a vent rather than a window or door joint, do not cover it: ventilation openings serve a different purpose.
Also look for loose trim, cracked sealant, worn weatherstripping, and daylight around a closed door. Water stains or damp material call for more investigation before sealing. Caulk can hide the visible edge of a leak without addressing the source of water.
Match the seal to the gap
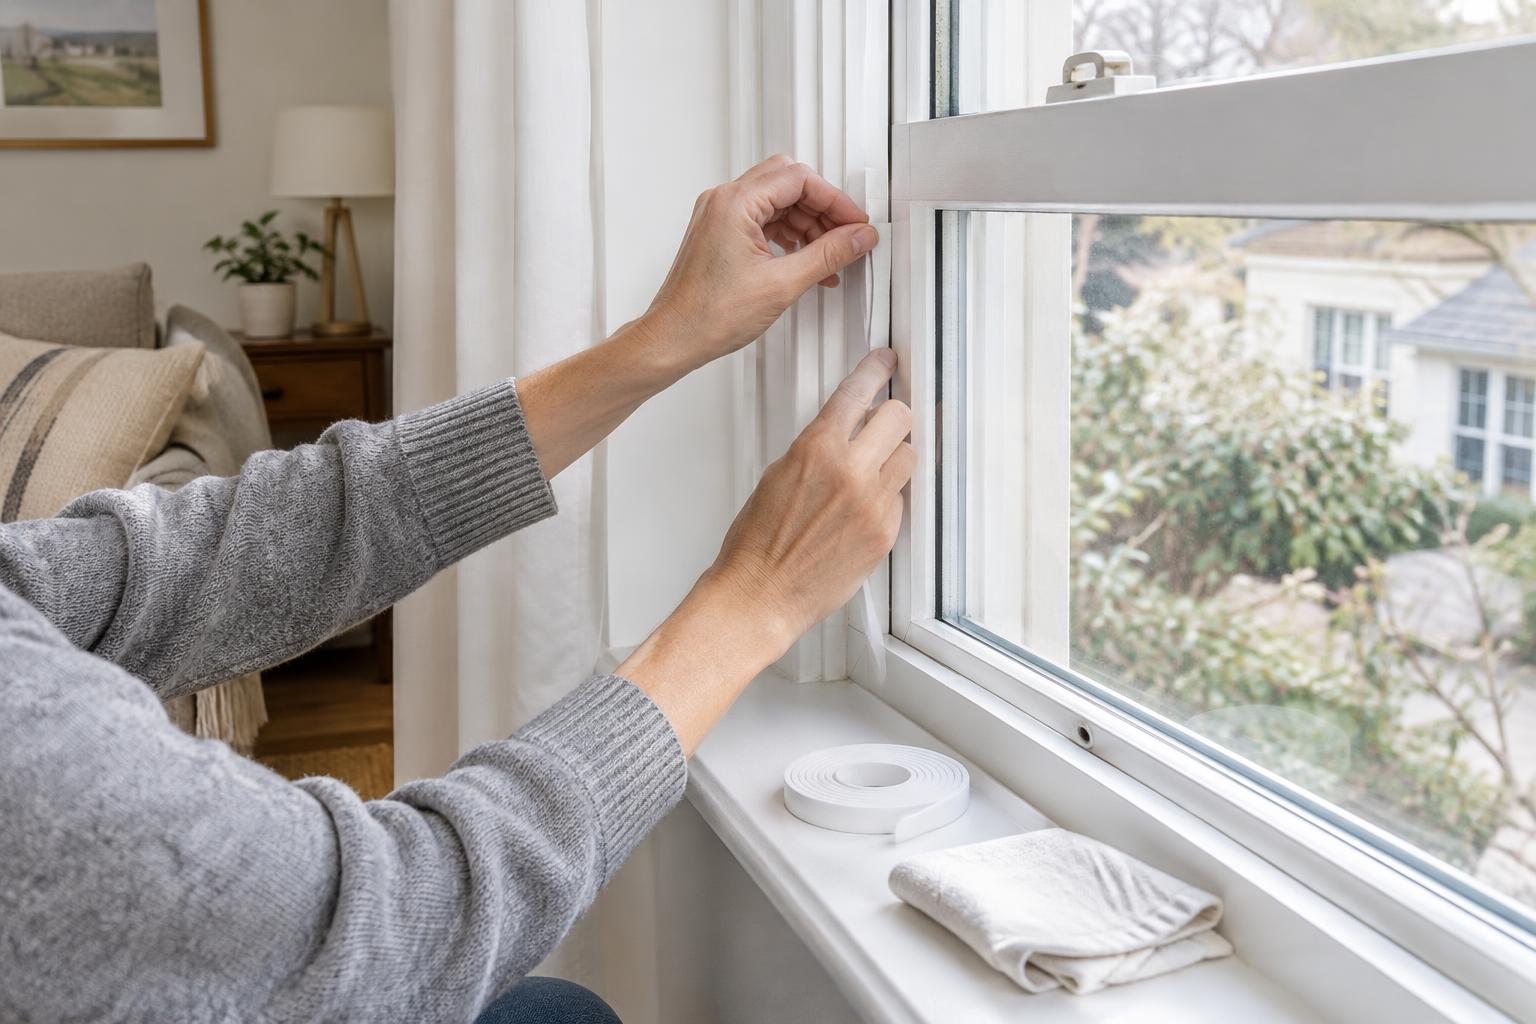
Use weatherstripping where two parts must move against each other, such as a door and its jamb or an operable window sash and frame. Adhesive-backed foam can be simple to install, though it may wear or lose its grip over time. Rubber or silicone profiles can suit gaps that need a flexible, more durable contact surface. Choose a thickness that compresses when the door or window closes without making it difficult to latch.
Use caulk on stationary joints, such as a narrow gap between fixed trim and a wall. Check that the product is intended for the surface and location you are sealing. Caulk is not a substitute for weatherstripping on moving parts: it may crack, pull away, or prevent them from opening. For a gap too wide for a neat bead, a suitable backer rod can fill part of the space before caulking.
A door sweep can help at the bottom of an exterior door, provided it contacts the threshold without dragging heavily. If the door is badly out of alignment, adjust or repair it first; adding a thicker seal may only make the latch harder to use. Renters may prefer removable weatherstripping or a draft stopper where permitted, and should check before altering frames or finishes.
Prepare surfaces and install carefully
Remove loose old material, then clean the surface and let it dry. Dust, grease, and peeling paint make adhesive strips and caulk less likely to hold. Measure each run and cut weatherstripping to fit without stretching it around corners. Apply it where the closed sash or door will make even contact, following the product’s placement instructions.
For a fixed joint, cut the caulk nozzle to make a bead suited to the gap. Apply a continuous line, smooth it as directed, and allow it to cure before painting or exposing it to water. Masking tape can help keep visible edges tidy. Work in manageable lengths rather than trying to seal an entire frame at once.
Keep window weep holes and other designed drainage paths open. Do not seal a window shut, obstruct a required vent, or alter a fire-rated door or its hardware without appropriate guidance. These details matter more than achieving a perfectly sealed-looking edge.
Check the result and plan the next step
Once the seal is installed, close and latch the window or door several times. It should operate normally, with no excessive force. Repeat the hand or tissue check under similar conditions if possible. A small remaining draft may point to another joint, while a new sticking point suggests that the weatherstripping is too thick or poorly placed.
If airflow persists around a loose frame, damaged sill, or large opening behind trim, surface caulk may not be enough. The assembly may need adjustment or repair before it can be sealed effectively. Likewise, recurring moisture deserves attention rather than another layer of sealant.
Keep a short note of what you replaced and where. During routine cleaning, check whether strips are peeling, sweeps are worn, and caulk has separated from its surface. Small, targeted repairs are easier to maintain when you can tell which part of the window or door was causing the draft.


