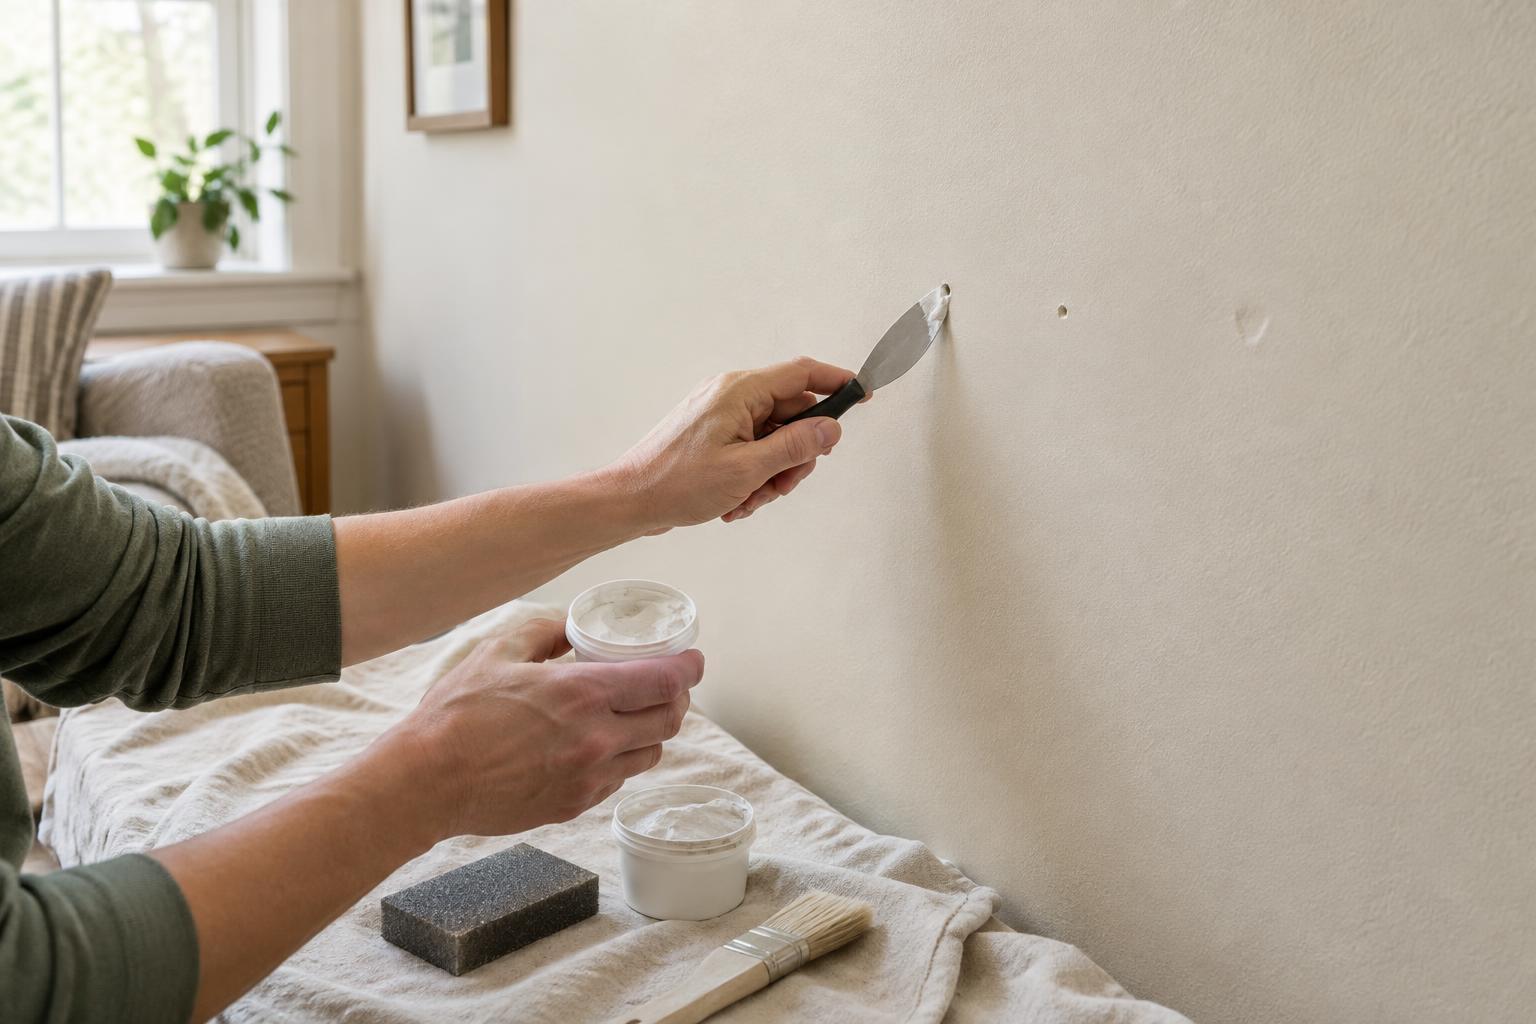
Check the wall before you start
A small nail hole or shallow dent rarely needs a complicated repair, but it helps to identify what you are working with. Most painted drywall and plaster walls can be patched with a suitable interior filler. If the surrounding surface is soft, damp, crumbling or visibly cracked, address that problem before covering it. Filler can hide a mark, but it will not correct a wall that is still being damaged.
Remove any nail or hook gently, then look at the edges of the opening. A tiny, clean hole needs less preparation than one with raised paper or loose plaster. If a wall anchor has left a wider opening, or the damaged area flexes when touched, it may need a more substantial repair than a simple dab of filler. Renters may also want to check their agreement before making or painting repairs.
Gather supplies and prepare the spot
For a small repair, gather a putty knife, interior spackling paste or patching compound, a damp cloth, fine-grit sandpaper or a sanding sponge, and matching primer and paint if needed. Choose a knife slightly wider than the damaged area so you can smooth the filler beyond the edges. Protect the floor below the work area, and keep a good light nearby; light cast across the wall makes bumps easier to see.
Wipe away dust and let the spot dry. Trim only loose material that would stop the filler from sitting flat. Avoid digging into sound wallboard or peeling back firmly attached paint. If the home may have older lead-based paint, do not sand or scrape it casually; seek appropriate guidance before disturbing the surface. For an ordinary painted wall without that concern, light preparation is usually enough.
Fill the hole or dent in thin layers
Press a small amount of filler into a nail hole with the putty knife, then draw the blade across it to remove excess. For a shallow dent, spread the filler over the low spot and feather its edges onto the surrounding wall. The aim is a level surface, not a thick mound. Check the product label for suitable application depth and drying instructions, since fillers vary.
A deeper dent may need two or more thin applications. Let each layer dry as directed before adding the next; a thick layer can shrink or remain soft beneath a dry-looking surface. If the first coat settles slightly, apply another small amount rather than trying to compensate with one heavy pass. Clean the knife between coats so dried crumbs do not leave grooves in the patch.
Sand and inspect the repair
Once the filler is fully dry, sand it lightly until it feels flush with the wall. Use gentle pressure and a few passes at a time. Sanding too broadly can scuff the surrounding paint or create a shallow ring around an otherwise sound patch. Wipe away the dust, then view the area from different angles. Running your fingertips across it can reveal a ridge that is hard to spot head-on.
If you find a low spot or a visible edge, add a thin skim of filler, let it dry and sand again. This short second pass often makes more difference than prolonged sanding. Keep expectations realistic on textured walls: a smooth patch can remain visible even when it is level. You may need to recreate the surrounding texture with an appropriate product or technique before painting.
Prime and paint for a consistent finish
Fresh filler absorbs paint differently from an already painted wall, so a spot of primer can help prevent a dull or uneven patch. Let the primer dry according to its directions, then apply matching wall paint. Use a small brush or roller that suits the existing finish, blending the paint gently beyond the repair rather than leaving a sharply defined spot.
Even a perfect color match can show if the original paint has faded or the sheen is different. If a small touch-up stands out after drying, painting the wall from corner to corner may give a more consistent result. Save a labeled container of leftover paint for future marks, and note its finish as well as its color. That small habit makes the next repair easier.


