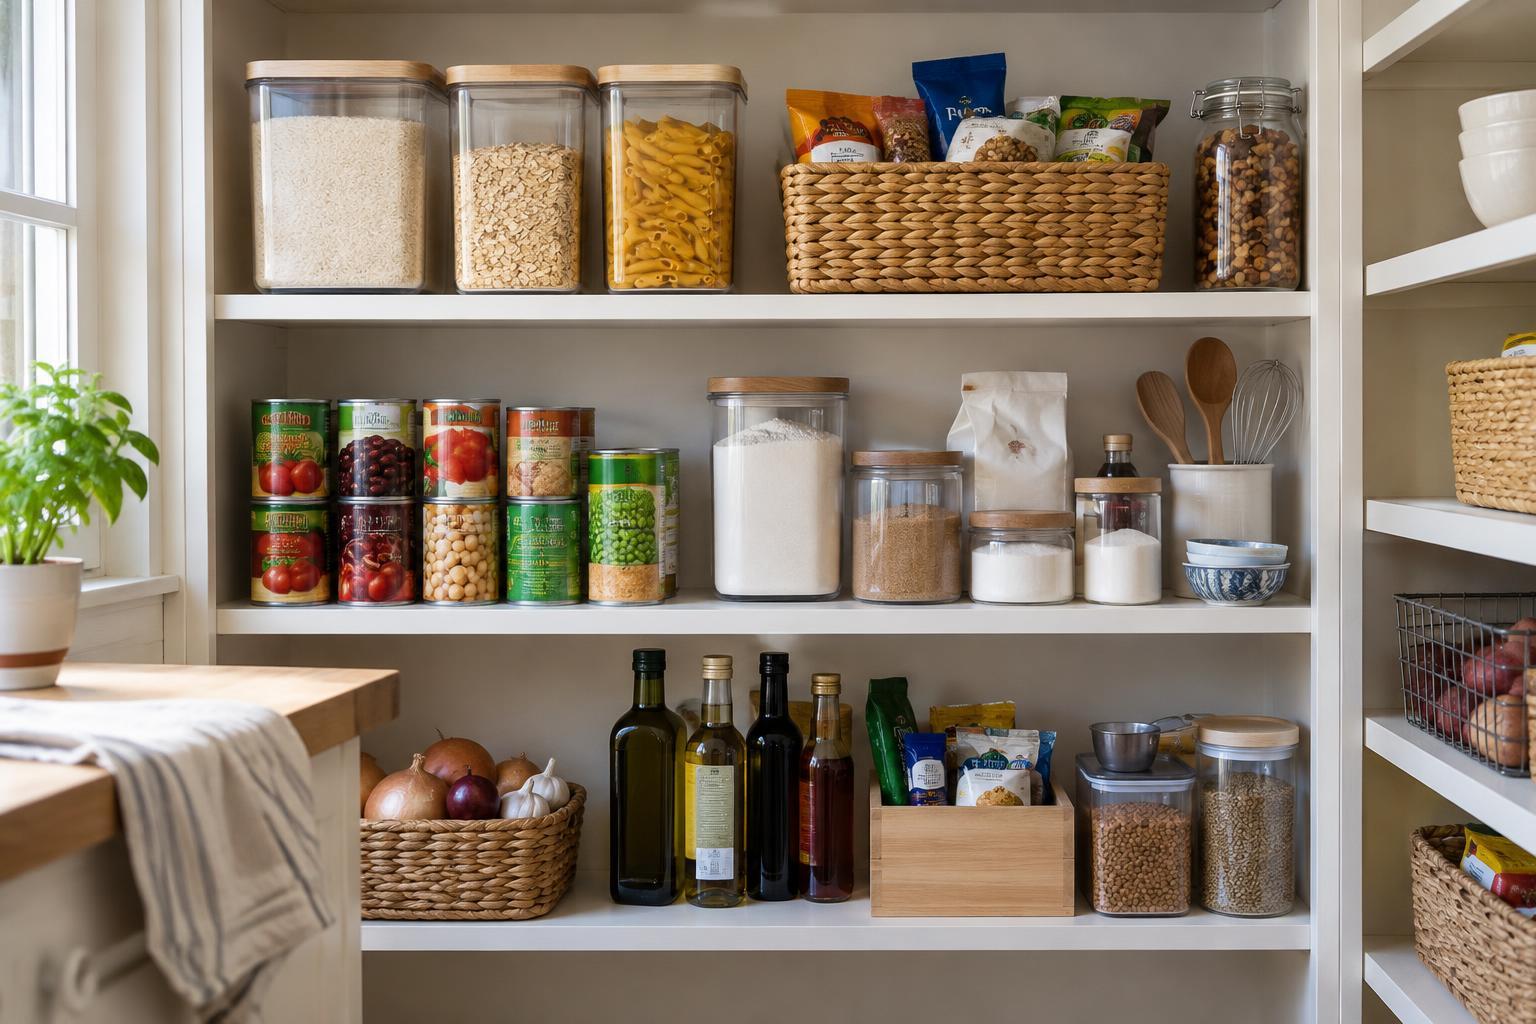
Start with the pantry you have
Before buying bins or jars, take everything off one shelf at a time. Set aside empty packages, check foods for signs of damage or pests, and group duplicates together. This gives you a clearer picture of what needs space. Notice which items are awkward to store: tall cereal boxes, heavy drink cartons, small spice packets, or bags that collapse as they empty. A pantry that works for your household should accommodate those items, not just a matching set of containers.
Measure the usable width, depth, and height of each shelf, including any space taken up by door hinges or shelf supports. Then note where your hands can comfortably reach. Reserve easy-to-reach shelves for everyday foods, lower shelves for heavier items, and less accessible areas for occasional supplies. If your pantry is a single cabinet, the same approach applies: plan around the clear space available when the door is open.
Group foods by how you use them
Broad groups are easier to maintain than a separate spot for every ingredient. You might make zones for breakfast, baking, snacks, quick meals, and unopened extras. Put foods commonly used together near one another: pasta beside sauces, for example, or oats beside breakfast toppings. The right categories depend on your cooking habits. A shelf for lunch-packing supplies may be more useful to one household than a dedicated baking shelf.
Keep each group together with a bin, tray, shelf section, or simple label. A bin is especially helpful for small packets that would otherwise spread across a shelf, but it should be easy to lift and look into. Leave some room for groceries rather than packing every zone to its limit. When you put food away, move older packages toward the front so they are easier to notice and use.
Choose containers for the food and the shelf
Decanting everything is optional. Original packaging often stores neatly enough and carries preparation details, ingredient information, and dates you may want to keep. Containers are most useful when a package tears easily, will not stand up, or is hard to close. For foods you do transfer, choose clean, dry, food-safe containers with lids that close securely. Transparent sides can make quantities easier to check, but a clearly labeled opaque container can work just as well.
Use your shelf measurements before choosing sizes. Check container height with the lid on, and allow room above it so you can remove it without scraping the next shelf. Consider the container’s footprint too: several narrow shapes may fit a shelf better than a few wide ones. For a frequently used food, choose an opening wide enough for a scoop or spoon. Try one or two containers with your usual groceries before committing to a full set; a container that looks efficient when empty may be inconvenient when filled.
Make labels and access do useful work
Label transferred foods with the name and any details you rely on, such as cooking instructions, an opening date, or information from the original package. If several people use the pantry, plain labels are more helpful than categories only one person understands. For foods with similar appearances, such as different flours or grains, labeling also helps prevent mix-ups. If anyone in the household needs to identify ingredients or allergens, retain the original information or keep it reliably associated with the container.
Arrange each zone so that removing one item does not require unloading the shelf. Shallow bins work well for packets and cans because their contents are easier to see. A tray can define a group of bottles or jars without hiding them behind tall sides. Avoid adding a second row of items at the back unless you can reach and check it easily; otherwise, supplies may be forgotten. In a deep cabinet, a removable bin can bring the back row forward.
Keep the system flexible
A pantry changes with shopping habits and available space. Once a week or when putting away groceries, take a quick look for open packages, duplicate purchases, and foods that should be used soon. Wipe up spills and return stray items to their zones. If one bin regularly overflows while another stays empty, adjust the space rather than buying more organizers.
Start with a modest setup: a few clear zones, containers only where they solve a problem, and labels that help people put things back. The goal is not a pantry that always looks untouched. It is one where you can see what you have, reach what you need, and make room for the next grocery trip without starting over.


