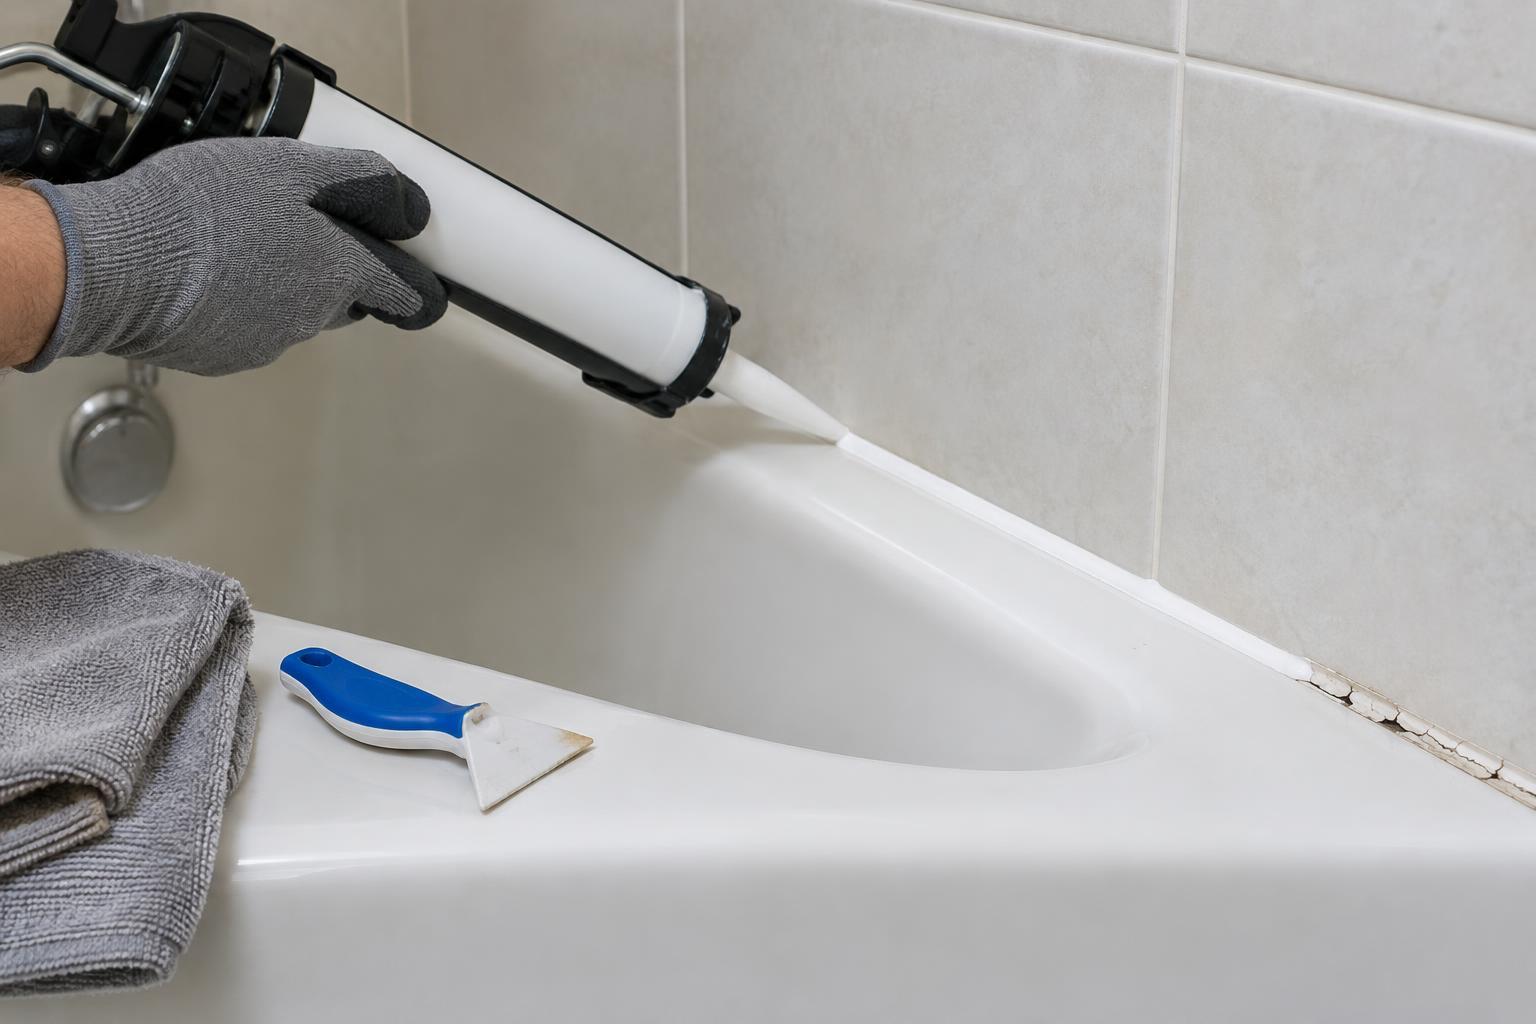
Know when caulk needs replacing
Bathroom caulk seals joints where water can collect, such as the edge of a tub, the base of a shower wall, or the gap between a sink and a backsplash. Inspect these areas after the surfaces are dry. A sound bead stays attached along both edges and has no visible gaps. Replace caulk that is peeling, cracked, missing in sections, or pulling away from a surface. Persistent staining that remains after cleaning may also be a reason to replace it, particularly if the bead has softened or lost its grip.
Not every dark mark means the caulk has failed. If the bead is firmly attached and the mark cleans off, routine cleaning may be enough. Conversely, fresh caulk will not fix an underlying leak. Dampness that returns outside the joint, a soft wall or floor, or a persistent musty smell calls for further investigation before resealing. If damage extends beyond a small, accessible joint, consider getting help from a qualified repair professional.
Choose the right material and plan for drying time
Choose a sealant labeled for bathroom use and suitable for the surfaces it will touch. Silicone is a common choice for wet areas because it remains flexible and resists water once cured. Other bathroom-rated products may be easier to tool or paint, but check their labels rather than assuming they are suitable for a shower. Match the bead to the joint: a narrow, consistent line usually looks better and is easier to clean than a broad smear.
Read the product instructions before starting, especially the requirements for surface preparation, ventilation, application temperature, and cure time. A bead that feels dry on the outside may not be ready for water. Schedule the work when the tub or shower can stay unused for the full period specified on the label. If you rent, check who is responsible for this repair before removing anything; a failing seal may be something to report to the property manager.
Remove the old bead and prepare the joint
Do not apply new caulk over loose or dirty caulk. Cut along both edges of the old bead with a caulk-removal tool or a carefully handled utility knife, then lift it away. Work slowly around acrylic, fiberglass, and other surfaces that scratch easily. Remove remaining fragments with a tool appropriate for the surface; if using a caulk remover, follow its directions and test it in an inconspicuous spot first.
Clean the exposed joint and the surfaces beside it to remove soap residue and grime. Use a cleaner compatible with the materials, rinse if its instructions call for it, and let the area dry thoroughly. Do not mix cleaning chemicals. Moisture or residue left under a new bead can interfere with adhesion. If the open joint reveals damaged material, address that problem before sealing it back up.
Apply one continuous, controlled bead
Cut the caulk nozzle to make an opening slightly smaller than the bead you expect to need. If you want a crisp edge, place painter’s tape on both sides of the dry joint, leaving enough space for the caulk to contact both surfaces. Hold the nozzle at a steady angle and move at a consistent pace, applying enough material to bridge the gap without piling it on.
Tool the bead promptly according to the product directions, using a suitable caulk tool or other method recommended on the label. Aim for a smooth line with firm contact on both sides of the joint. Remove any tape before the caulk skins over, taking care not to pull up the fresh bead. Wipe stray material as directed by the manufacturer; cured silicone, in particular, can be difficult to remove cleanly.
Let it cure, then keep the area easier to maintain
Keep the joint dry for the full cure time stated on the product label. If the tub moves noticeably when filled, check the sealant instructions or the tub manufacturer’s guidance on whether it should be weighted during application and curing. Once the bead is ready for use, look along its length for skips or edges that did not adhere. A gap is better corrected properly than hidden under an extra smear.
Regularly removing standing water and soap buildup can make the seal easier to inspect and clean. Check the joint during ordinary bathroom cleaning so small separations do not go unnoticed. Avoid sealing over openings that are designed to drain water, such as certain shower-door track weep holes. The goal is not to cover every visible seam; it is to maintain a sound seal where the bathroom assembly calls for one.


