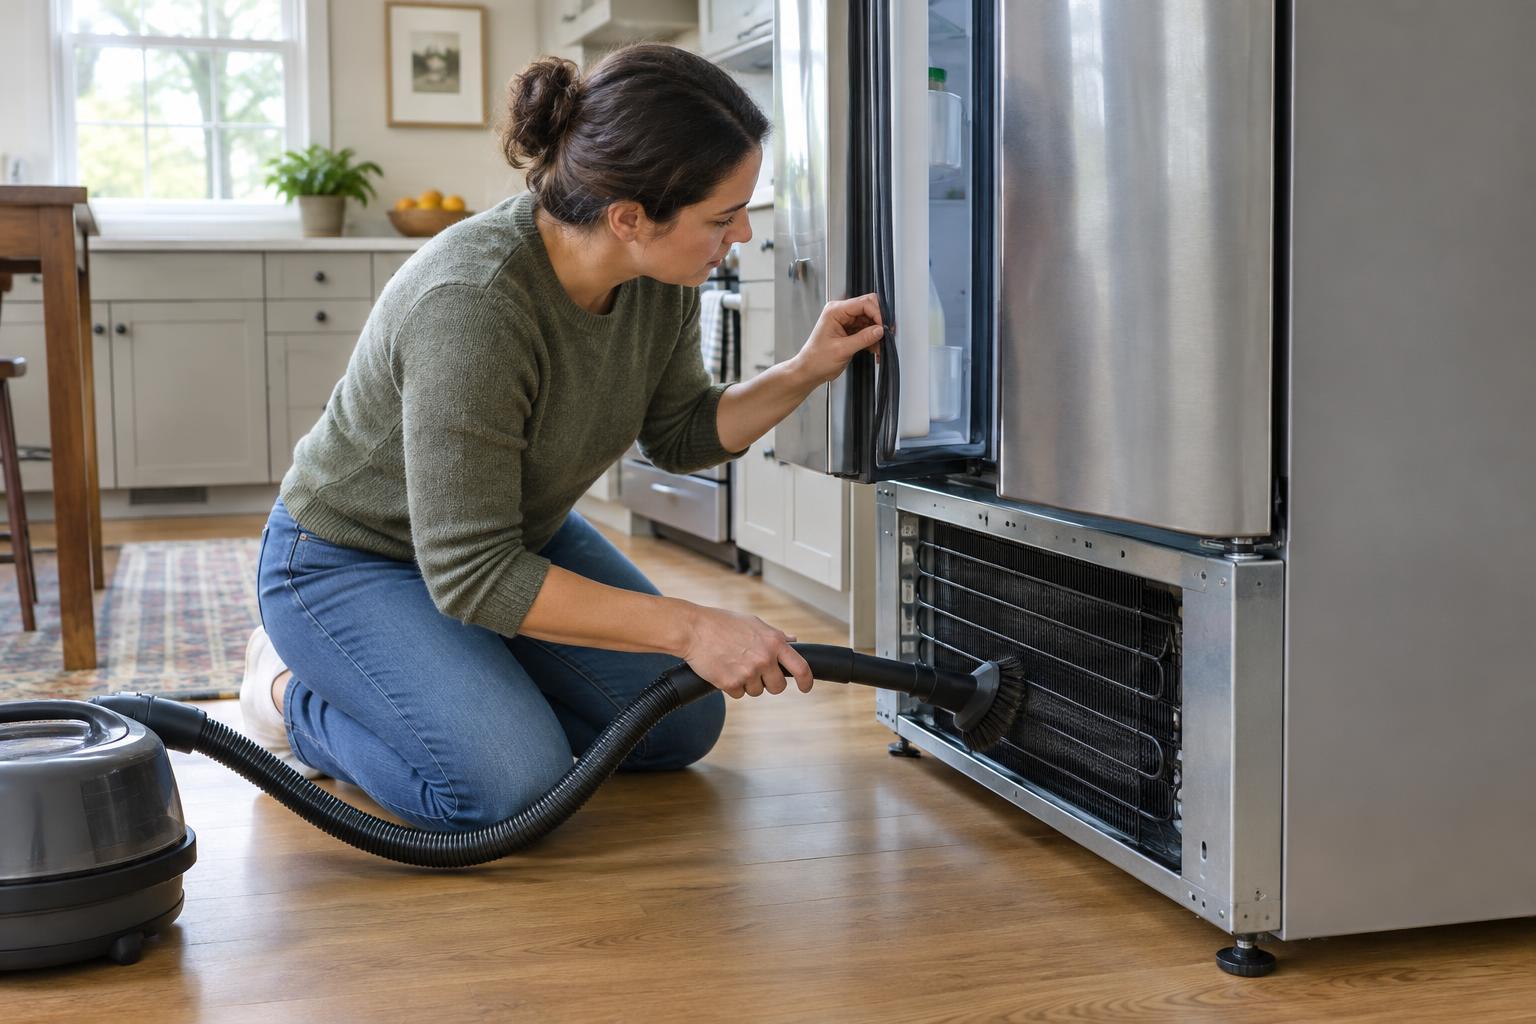
Start with the appliance, not the cleaning tools
Before moving or opening any panels on your refrigerator, check its manual for the coil location and cleaning instructions. Many models have accessible condenser coils behind a lower front grille or at the rear; others have covered components that are not intended for routine owner cleaning. The manual can also show how a grille releases, so you do not have to force it.
Unplug the refrigerator before cleaning around the coils. If the plug is difficult to reach, follow the manufacturer’s guidance rather than working near powered components. Clear a path before pulling the appliance forward, and ask for help if it is heavy or awkward. Move it slowly to avoid straining the power cord, water line or floor. If access requires removing more than a simple service grille, leave that work to a qualified technician.
Remove dust from accessible coils
For exposed coils, start with a vacuum and a soft brush attachment to collect loose dust. A refrigerator coil brush can help reach between narrow sections, but use light pressure: fins, tubing and nearby connections can be damaged by bending or scraping. Work from the outside inward only as far as you can comfortably see and reach. Vacuum the surrounding floor and grille as well, since debris left there can be drawn back toward the appliance.
Keep liquids and spray cleaners away from electrical parts. If a removable grille needs washing, clean it separately and let it dry fully before reinstalling it. Check that nothing has fallen behind the refrigerator, then return the appliance to its position without pinching the cord or any water line. Leave the ventilation space specified in the manual and plug the refrigerator back in.
Clean and inspect the door gasket
The flexible gasket around each door helps the refrigerator close against its frame. Crumbs and sticky spills can keep it from sitting flat, so wipe the folds with a soft cloth, warm water and a little mild dish soap. Use a soft brush for narrow creases if needed, then wipe away soap residue and dry the gasket. Avoid sharp tools, abrasive pads and harsh cleaners that could cut or degrade the material.
Look closely at the corners and lower edge, where grime is easy to miss. Check for tears, hard or brittle areas, sections pulling away from the door, and spots that remain twisted after cleaning. Also look at the cabinet surface where the gasket lands; a small spill there can interfere with contact. Close the door gently and see whether the gasket sits evenly all the way around.
Check the seal and rule out simple obstructions
A paper test can help identify a possible gap. Close the door on a strip of ordinary paper so part of it remains outside, then pull gently. Repeat at several points around the door. The paper should offer some resistance, though the feel may vary by location and refrigerator design. A spot where it slides out freely is worth inspecting; this test alone does not prove that the gasket needs replacing.
Before assuming the seal is faulty, check whether a shelf, drawer or tall item is preventing the door from closing. Make sure food packaging is not caught at the edge and that the refrigerator is positioned as its manual directs. Clean any suspect area and try the test again. If the gasket is visibly damaged, will not stay seated, or a gap persists, consult the manual for a compatible replacement or arrange a repair.
Make it a manageable routine
There is no need to dismantle the refrigerator for a routine check. When you clean the floor nearby, glance at the grille for dust and wipe any spills from the gasket. Inspect the seal more carefully when a door seems harder to close or you notice moisture around its edge. Homes with pets or more airborne dust may need coil cleaning more often; use the manual and what you find on inspection to guide the interval.
Once the appliance is back in place, confirm that the doors close freely and listen for any unusual noise caused by a displaced panel or object. If cooling seems unreliable, there is water near electrical components, or you suspect damage to tubing or wiring, stop the DIY work and seek qualified help. A careful clean and seal check should be a small maintenance task, not a reason to risk damaging the refrigerator.