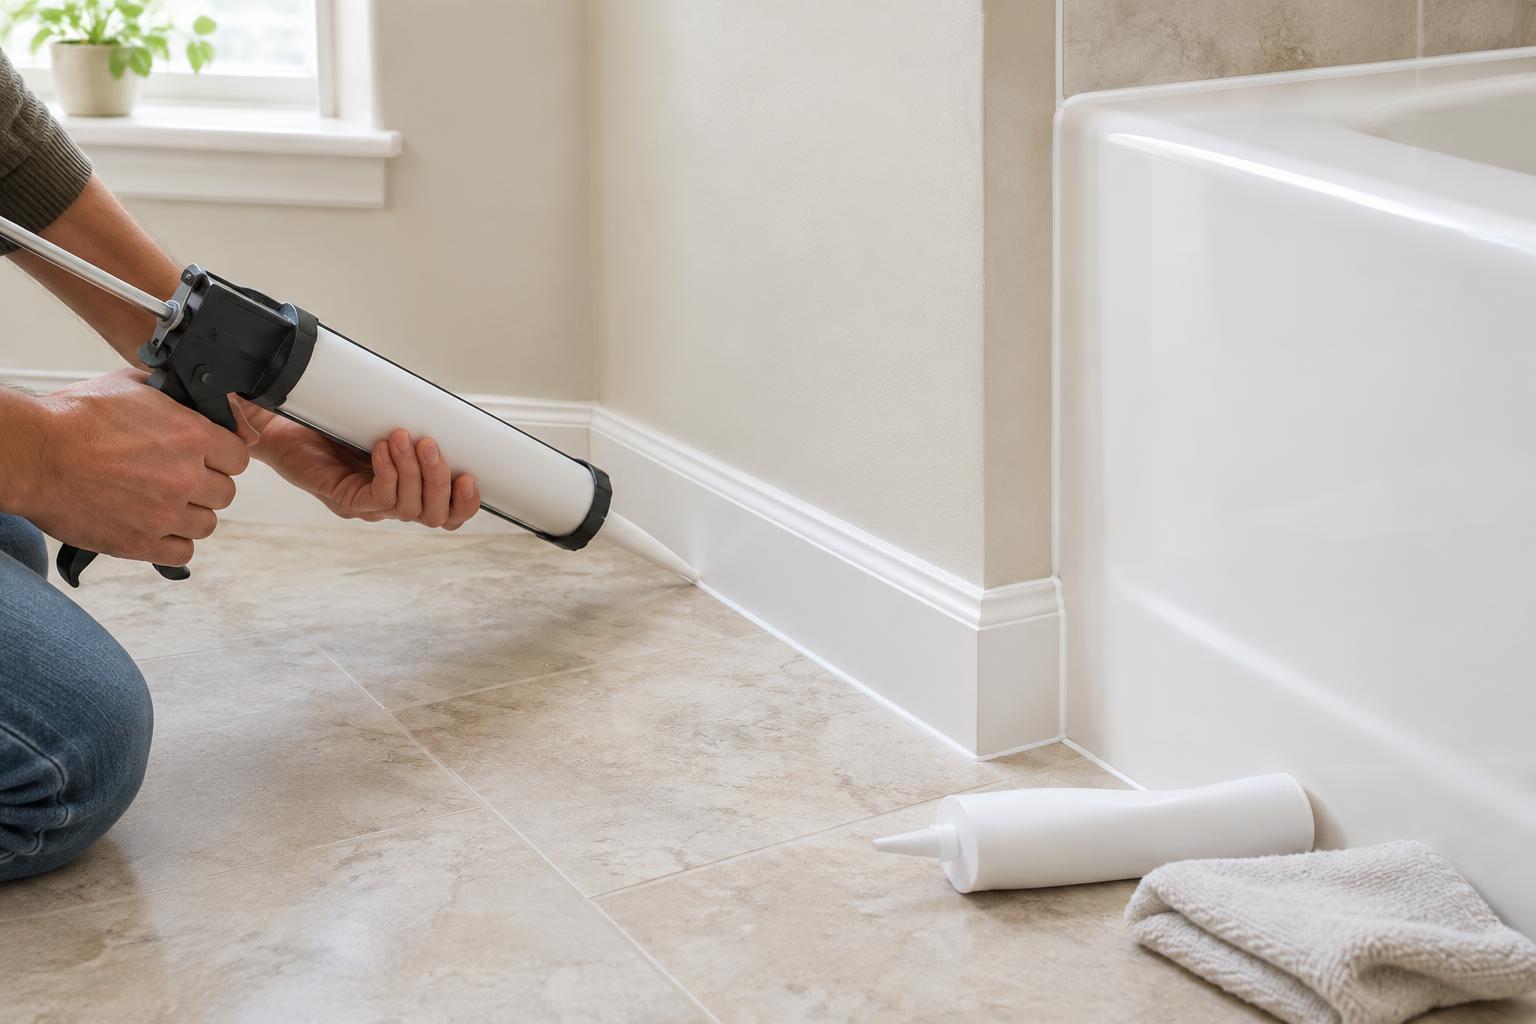
Start with the gap, not the tube
Caulk fills narrow joints where two surfaces meet, such as trim against a wall or a sink against a countertop. Before buying it, identify both surfaces and consider what happens at that joint. Does it need paint? Will it regularly get wet? Might the materials shift slightly as the room is used or temperatures change? Those questions are more useful than choosing a product by color alone.
Caulk is best for joints, not for repairing loose materials or hiding a large opening. Secure loose trim first, and use an appropriate filler for nail holes or damage within a flat surface. If a gap is unusually wide or keeps reopening, find out why before covering it. A bead that looks tidy on application day will not necessarily solve an underlying movement or moisture problem.
Match the product to paint and water exposure
Paintable acrylic latex caulk is a practical starting point for many dry interior joints, including gaps between baseboards and painted walls. It is generally easy to smooth and clean up, but check the label for its intended surfaces and drying time. If you plan to paint, confirm that the particular product is paintable; a similar-looking tube may not be.
For joints that receive frequent splashes, such as those around a shower or sink, look for a sealant explicitly intended for that location and compatible with the adjoining materials. Silicone is often used in wet areas, but many silicone products cannot be painted. Some hybrid and other specialty sealants offer different combinations of paintability, adhesion and flexibility. Read the product label rather than assuming one type will work at every joint.
Check compatibility and choose a restrained finish
A sealant must adhere to both sides of the joint. Tile, painted drywall, laminate, metal and natural stone can have different requirements, so check the product’s surface list and any cautions. Some materials may be prone to staining or may require a specific sealant. If an existing joint has failed, identify the old material where possible: applying a new bead over old, loose or contaminated caulk is unlikely to give a durable result.
Color affects how noticeable the line will be. Paintable caulk can blend with trim after painting, while a precolored sealant may suit a joint that will remain unpainted. Clear does not make a thick or uneven bead disappear; it can draw attention to what sits beneath it. For an exposed joint, aim for the narrowest neat line that properly fills the gap, and test the appearance in an inconspicuous spot if you are unsure.
Prepare the joint before applying caulk
Remove failing caulk and clean the surfaces as directed for the new product. The joint should be sound and dry unless the label specifies otherwise. Take care not to damage a tub, countertop or wall finish while removing an old bead. Painter’s tape can help define an edge on visible surfaces, but it does not replace steady application. Cut the nozzle to suit the gap rather than making a large opening by default.
Apply a continuous bead, then smooth it using the method recommended on the label. Work in manageable lengths so the material does not begin to skin over before you finish it. Remove any masking tape at the stage directed by the product instructions, and allow the full specified cure time before painting or exposing a wet-area joint to water. Dry-to-touch and ready-for-use are not always the same thing.
Maintain the seal without masking a problem
Check caulk occasionally where water is likely to collect or where a joint has previously opened. Clean it with products suitable for both the sealant and the surrounding finish. If the bead separates, cracks or traps persistent discoloration, replacing the affected section is usually more useful than adding another layer on top. A clean, intact joint is easier to assess and maintain than a buildup of patches.
Treat repeated failure as a clue. A moving fixture, a leaking connection or moisture behind a surface may need attention before recaulking will help. For an ordinary sound joint, however, careful product selection and preparation can make a modest finishing task worthwhile: the edge looks cleaner, and the materials on either side remain easier to care for.